[OLD] Configure ACES Exchange on Motorola Droid
NOTE – this post refers to the old Exchange settings. If you are using CITES Eschange 2010, please use the settings in this CITES article.
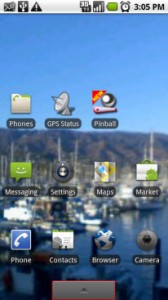
1. From the home screen, tap the Applications tab
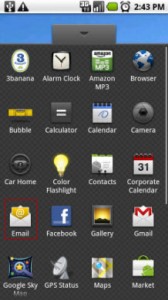
2. From the Applications screen, tap Email
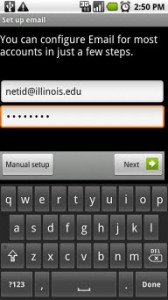
3. You will now be prompted for your email account settings. Enter the following:
- Email address: netid@illinois.edu
- Password: your ACES Active Directory (AD) Password
4. Tap the Manual Setup button
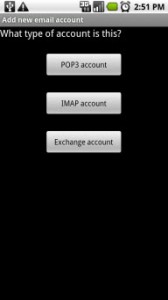
- For the account type, tap Exchange Account
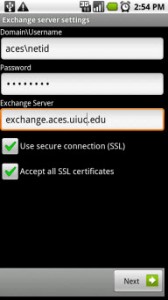
5. You will now be prompted to enter the Exchange Server Settings. Enter the following:
- Domain/Username: aces\netid
- Password: ACES AD password (should already be entered)
- Exchange Server: exchange.aces.uiuc.edu
- Make sure that Use secure connection (SSL) and Accept all SSL certificates boxes are checked
6. Tap Next
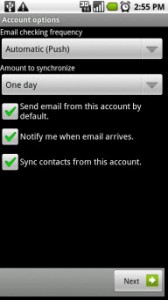
7. You will now be able to choose your account settings. These settings can be set to the users’ preference. By default, the following are configured:
- Email checking frequency: Automatic (Push)
- Amount to synchronize: One Day
- Send email from this account by default: Unchecked (If setting up more than one account, this can be checked )
- Notify me when email arrives: Checked (phone will ring or vibrate when email is received)
- Sync contacts from this account: adds contacts from your address book
8. Tap Next
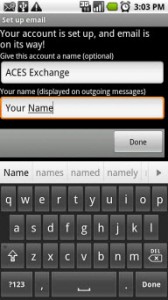
9. Your ACES Exchange account should now be configured and email should begin downloading on your phone. You will now have the option of naming the account and setting up a name that will be displayed on outgoing messages. The following is recommended:
- Give this account a name: ACES Exchange
- Your name: your name (as you would want it to appear in your signature line)
10. Tap Done to close the configuration window. You can now launch your email by tapping the email icon on your Applications tab.
Print Article

